
Would you like to add JESUS Film banners to your blog or website to help promote the re-mastered DVD? The DVD, also in Blu-Ray, has a new original soundtrack as well. The new JESUS Film HD was released today in celebration of their 35th anniversary.
So, would you want your readers to learn more about the film on the special anniversary site or to find out where to buy the new DVD in retail stores and how to host a theater showing at no cost to them? It’s not hard to add banners. Perhaps you have an evangelistic site so you’re interested in a link to the film. I’ll tell you how to do these and share some of my “tweaks.”
How to Add JESUS Film Banners to Your Blog or Website
Before we start, all the links in this article will open a new page in your browser so you can keep this post open and check the instructions and examples on the other sites. You’ll be able to come back here and make your way through the steps.
If you’d like to see the ones I used, I put the Mission trip banner in the footer of our personal blog, MikeandSus.org. I put a smaller “watch the film” banner in the left sidebar of my evangelistic blog, The Sovereign and in the footer of eQuipping for eMinistry (see below). If you follow this link to The Sovereign, you’ll notice I took you to a post, not the home page. That’s because I’m using aWordpress theme that has optional “After Posts,” which appear before the comments. I wanted to show you I published the Fact or Fiction banner in the After Post so every single time a visitor reads a post on this blog, they’ll also see an invitation to learn more about who Christ is. (Also see Tweak #2.) Of course, I’m hoping many visitors will click on it. I just put it up today, so we’ll see.
By the way, I find multiple flashing banners distracting. I ignore them and maybe you do, too. Limit these to one on a page. (Flashing images are GIF files, by the way.)
Now, find the complete instructions to add JESUS Film banners to your blog or website on the Jesus Film Project website.
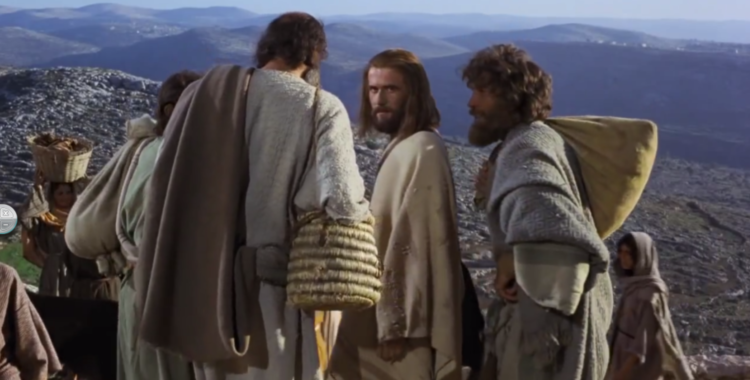
Get the Picture
The five links near the top take you to the five sections on the page. Let’s say you’d like to have a “Watch Film” banner on your evangelistic blog site. Click on that link and you’ll see a box with the HTML (computer language) code to create the banner and a few different images to choose from. The paragraph above the five links described that you should save one of these banner images to your computer and then upload it to the media library for your blog. Choose an image that will fit the space you’ll be putting it in, and which will also minister well to your audience.
Get the Code
I thought you might appreciate a more detailed description of what to do next.
Copy the entire HTML code that you see in the grey box associated with the banner image you chose.
If you want to have the banner in your post, open the “Text” or HTML tab on your post editor. Paste the code in there. If you paste it where you normally write, you will have gobbledygook in your beautiful post. (This would be true if you put the banner in a page, too.)
If you want the banner in your After Post, a sidebar or footer, go to Appearance / Widgets (WordPress). Drag a “Text” box to where you want the widget to be in one of these. You may have more than one sidebar and footer option as well. You may need to drag this text box to several places before you settle on your location. Paste the HTML code into the text box.
Get the Link

Now, you need the URL for your banner image. In another tab in your browser, go to your Media Library and “edit” the image. (I have a photo here to help you.) To the right of the image in a grey box is the File URL. Put your cursor in the grey box and copy the entire contents. (See Notes if you need to know an easy way to do this.) The URL is longer than what you can see. You need the entire thing.
Go back to the tab where you are working on Appearance / Widgets. Look for type path to image here and paste the banner’ s URL on top of these words, completely replacing them.
I knew you could do it! The HTML code now displays the image on your blog or website and when your visitor clicks on it, they’ll go to the specific JESUS Film site you selected. You’ve become a programmer today!
Tweak #1
The only widget you don’t see on the Jesus Film’s instruction page is the 35th anniversary widget. I was able to re-create it. You see what it looks like here:

Again, save this image to your Media Library, et cetera, and use the following HTML:
<!– Begin JESUS link here –>
<a href=”http://jesusfilmhd.com/“>
<img class=”aligncenter” title=”Click to learn more about the JESUS film HD…” src=”type path to image here” alt=”Click to learn more about the JESUS film HD…” border=”0″ /></a>
<!– End JESUS link here –>
Tweak #2
The Fact and Fiction banner links to a page explaining how you can order the DVD. I wanted the link to go straight to the online content of the DVD. If you’d like to do that, too, replace href=”http://www.jesusfact.com/” with href=”http://www.jesusfactorfiction.com/” in the HTML code.
Did you try adding a banner? Share a link to your site so I can celebrate your success with you!
NOTES:
- You can use a similar technique for other banners you like from other sources. Be sure they’re from a trusted site and virus-free. Also, you may need to check with the site for permission to put up their banner. The permission is implicit on JesusFilm.org since they explain how to do it.
- A quick way to cut and paste is, put your cursor in the grey box; hit Ctrl A to select the contents of the box and then Ctrl C to copy the contents; hit Ctrl V when you are ready to paste.
- For those looking for the next post in the You-Can-Too series, I thought I should put this post up because of the release date of the DVD. The next post will be for the You-Can-Too series.
- The image is a screenshot from the JESUS Film.

Great info, when I have more time I hope to get it on my blog. – monica
LikeLike
Aloha, Monica!
The only problem you may have doing this is with your “have more time” issue… I know you! 😉
LikeLike
Yup, doing too much and wanting to do more!
LikeLike