
Cropping Photos with Paint.net
Are you ever frustrated with how your photos turn out in blog posts or other social media? We’ve all seen that great family shot on a Facebook cover photo, but parts of the spouse’s head are sadly missing and the children’s eyes are peeking from the bottom edge of the photo as if they were looking over a wall. I hope I can help you avoid a situation like this.
This post in the byte-size series will help you pick up an easy tool to get the right dimensions for a photo before you upload it. Yes, many platforms have an editor for you to adjust the crop within their social media or other sites, but some don’t, so you probably will have times when you need to know how to do this.
For me, I always crop a photo before uploading anywhere. If you choose to do your editing within MailChimp, for instance, you’ll start using up valuable media library space. I’ll discuss this again at the end of the post.
Free photo editors are handy tools to learn. Paint.net is what I’m using in this post. You might have another photo editor you like, such as Gimp. These tips should work similarly in most photo editors and be relevant to different social media situations. So, if I write about cropping photos for a blog, you might be able to use these ideas for cropping a photo for Facebook.
Tips for Cropping
For many social sites, the default crop is right through the middle of a photo. Often that default is just fine for your purposes. Find one photo for your post and you’re done.
Because I’ve chosen specific features for the WordPress Oxygen theme, I would need the original and possibly two cropped sizes just for this one blog post (when the default crop is not okay with me). I might have three sizes of one image.
- The original photo is for the post.
- The slider images are the five featured images that cycle through at the top of the home page. [Oxygen theme users: See NOTES.]
- The featured image is also used for thumbnails in the sidebar, for identifying a blog post in a search list, as a related post, and more.
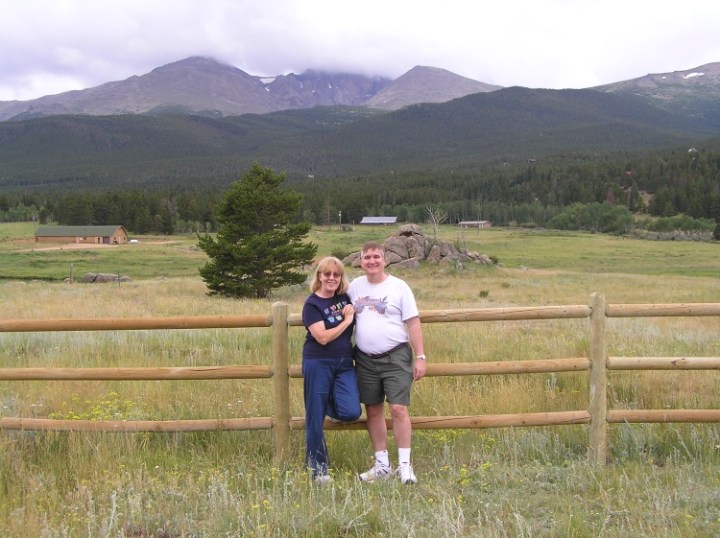
For this post, I’ve chosen the image of Mike and me with Long’s Peak in the distance. It looks great at the top of this article, but I’ll use this photo for a slider image on the home page, as well. So, notice the shaded blue rectangle in the photo below where the default crop for a slider image removes our feet and the tops of the mountains.
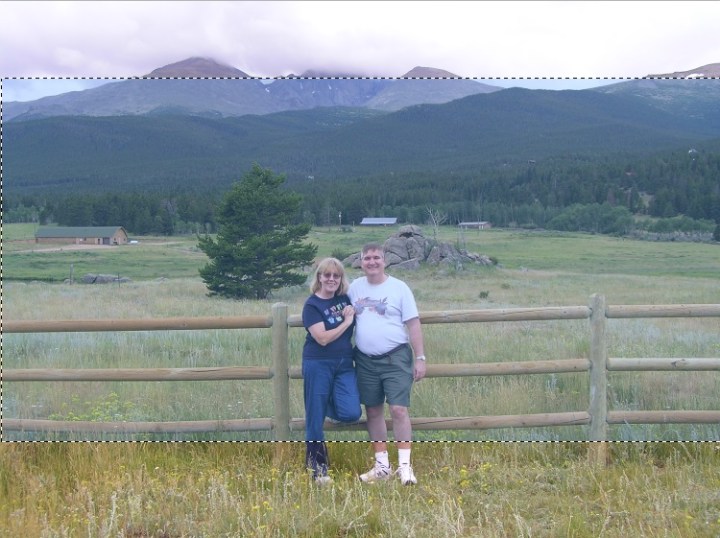
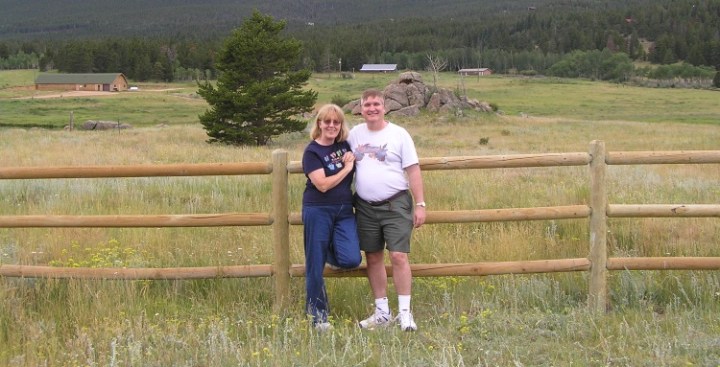
The dimensions for slider images for this WordPress theme are 750 x 380 pixels . (Different themes have different sizes.) Adjusting the crop lower for the slider image makes a better photo.
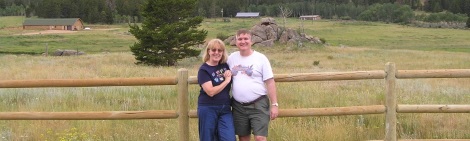
I need to adjust the crop again to be where I want it for the featured image at 470 x 140 pixels. See the next photo:
If you don’t want to mess around with a lot of cropping, many newer WordPress themes aren’t as strict about photo sizes for featured images, allowing for multiple dimensions. (Maybe it’s time for me to look for a new theme!)
Start Cropping!
I made the following tutorial video a few years ago about resizing images. I show you different sizes for social media sites and how to crop and resize.
Considering give.cru.org
You may need the tips in this post to fix a photo for your give.cru.org site. Remember to keep this site current. Check your content. Get your new cropped photo ready and then read this tutorial to update your site.
The Special Case of MailChimp
Again, I always crop a photo before uploading anywhere.
MailChimp is a good example of why this is important. Particularly, if you upload a large photo to MailChimp and then re-size and crop in their editor, your original photo will take up valuable media library space. (To be safe, upload photos under 900 pixels in width and/or height.) I recommend only storing the photos you will end up using in your MailChimp media library. If you don’t take these two precautions, your media library could fill up and cause some problems for you later.
I certainly appreciate that MailChimp’s photo editor may be all you need. It could be simple enough for you and is what you prefer to learn and use. I suggest then, when you do your photo edits within MailChimp, develop the firm habit of deleting the excess images every time you’re editing photos.
Do you have a photo to try this out? Send me a before and after of your photo. I’d love to see what you were able to learn about cropping.
![]()
The Byte-size Series:
Each byte-size series post is meant to be easy for you to do.
- Priority Inbox for Gmail and using lists in Facebook
- Your web presence and your online MO
- Email subject lines
- Google Apps and search tips
- You could afford a tablet
- 5 Easy Tech Ideas You Didn’t Know You Needed
- Saving Facebook Posts… for Bloggers, Too
- Painting a Bigger Picture for Your Ministry Partners
- Easy Tips for Cropping Photos with Paint.net
- Your eTools for Your Myers-Briggs Type
- Facebook Live Is an Easy Ministry Tool
NOTES:
- Download Paint.net for free (it’s actually shareware, so you may wish to donate).
- I don’t discuss resizing in this post. I also recommend reading about Resizing Images.
- Oxygen theme users: I check the box in “Visibility” to make the post “sticky;” this specifies that a featured image will be used for one of the five slider images. If you have more than five sticky posts, only the most recent are sliders.
- The Byte-size series photo is of a 28-pin integrated circuit, CP2102 (USB to Serial chip).

One thought on “Easy Tips for Cropping Photos with Paint.net”